")


Hello again my friends!
If you’ve ever dabbled in audio mixing, you’ve probably come across the term “Mid-Side” encoding (M/S) (AKA “Mid-Side Processing”). At first glance, it might seem like a complex concept to grasp, but fear not! Today, I’ll be breaking down M/S encoding, providing examples of various types of processing that can be done, and discussing the benefits of using this method. By the end of this post, you’ll be an M/S encoding pro, ready to enhance your audio projects in ways you never thought possible!
Table of Contents
What is Mid-Side Processing?
M/S processing is a technique used in audio processing to manipulate stereo signals that involves converting a stereo signal into a “Mid” channel (M) and a “Side” channel (S). The Mid channel contains the audio information that is identical in both the left and right channels, while the Side channel contains the audio information that differs between the two.
This approach enables precise control over stereo imaging, depth, and clarity, offering more flexibility than traditional left/right processing.
The concept of M/S encoding dates back to the early days of stereo recording when it was developed by the German engineer Alan Blumlein. It was initially used for vinyl records to reduce groove wear, but it didn’t take long for audio engineers to recognize its potential in other areas of audio production. Today, M/S encoding is widely used in mixing, mastering, and even sound design for films and video games.
How Mid-Side Processing Differs from Left/Right Processing
Mid-side (M/S) processing offers a fundamentally different approach to manipulating stereo audio compared to traditional left/right (L/R) processing. While L/R processing treats the left and right channels as independent audio streams, M/S processing separates the audio into two distinct components:
- Mid (M): The shared content between the left and right channels, typically consisting of mono elements like lead vocals, bass, and kick drum.
- Side (S): The difference between the left and right channels, representing the stereo width or spatial content of the audio.
This unique separation allows for much more precise and flexible control over stereo imaging, depth, and clarity.
Key Differences Between M/S and L/R Processing
Precision in Stereo Imaging
- L/R Processing: Adjusting the stereo image in L/R mode often involves panning or EQ applied to either the left or right channel. While this can widen or narrow the stereo field, it can also cause imbalances or unintended overlaps.M/S Processing: By targeting only the Side channel, you can enhance stereo width without affecting the Mid content. For example, you can make high-end frequencies airy and wide while keeping the low-end focused and centered.
M/S processing is particularly effective when working with instruments like pads or strings that benefit from enhanced width without interfering with the core mix elements.
Phase Issues and Mono Compatibility
- L/R Processing: Boosting or cutting frequencies in one channel can introduce phase issues, especially when played back in mono. This can lead to parts of your mix disappearing or sounding weak.M/S Processing: Since the Mid channel is mono-compatible by design, changes made here will translate seamlessly to mono playback systems. Adjustments to the Side channel are also less likely to cause phase cancellation, as they focus only on the stereo content.
M/S processing ensures your mix retains its impact and clarity on devices that sum stereo audio to mono, such as smartphones or club sound systems.
Balance Between Focus and Space
- L/R Processing: While panning or EQ adjustments in L/R mode can shift elements in the stereo field, it’s challenging to separate the focus (center) from the space (sides) cleanly.M/S Processing: M/S allows you to independently control focus and space. For example, you can compress the Mid channel for punch and clarity while using gentle saturation on the Side channel to add warmth and character.
This approach lets you maintain a tight, punchy core for elements like vocals and drums while creating a spacious, immersive stereo field.
5 Practical Applications of Mid-Side Processing in Mixing and Mastering.
Now that we have a basic understanding of what M/S encoding is, let’s dive into some examples of processing that can be done in Mid-Side mode. These techniques will showcase the true power and versatility of working in M/S.
1. M/S Equalization

Equalization (EQ) is an essential tool in the audio engineer’s arsenal, allowing them to shape and sculpt the frequency content of a sound. When using M/S encoding, EQ can be applied to the Mid and Side channels independently. This offers a more precise way of controlling the stereo image and can help to enhance the sense of space and depth in a mix.
For instance, by boosting the high frequencies in the Side channel, you can create a sense of airiness and openness, while simultaneously preserving the focus of the lead vocal or instrument in the Mid channel. Conversely, cutting the low frequencies in the Side channel can help to tighten up the low end and prevent muddiness in the stereo image.
2. M/S Compression
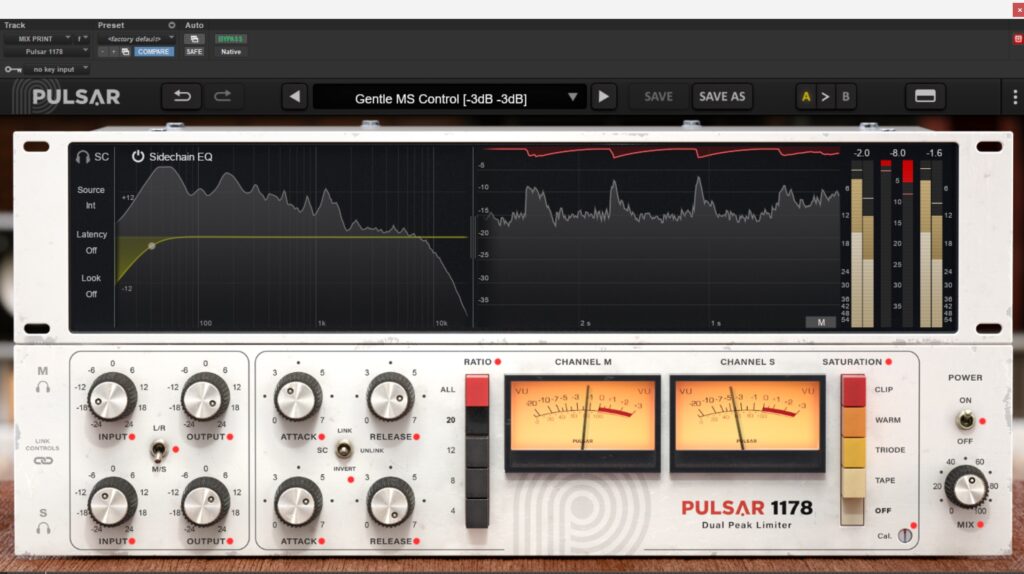
Compression is another indispensable tool for audio engineers, helping to control the dynamic range of a sound. By working in M/S mode, you can apply compression to the Mid and Side channels individually, allowing for even greater control over your mix’s dynamics.
Applying more compression to the Mid channel can help to bring out the punch and impact of a drum kit or a vocal, while leaving the Side channel relatively uncompressed to preserve the natural dynamics of the stereo field. Alternatively, compressing the Side channel can help to create a sense of space and dimension, especially when used in conjunction with reverb or other spatial effects.
3. M/S Reverb and Spatial Processing
Reverb and other spatial effects are crucial for creating a sense of depth and space in a mix. By using M/S encoding, you can apply these effects more strategically, ensuring they don’t conflict with other elements in your mix.
You could apply a lush reverb to the Side channel while keeping the Mid channel relatively dry. This can help to create a sense of space around your mix, without washing out the important center elements like vocals or lead instruments. On the other hand, applying reverb to the Mid channel and keeping the Side channel drier can create an intimate, focused sound that still maintains a sense of space.
4. M/S Stereo Width Control

One of the key advantages of working in M/S mode is the ability to control the stereo width of a mix. By adjusting the balance between the Mid and Side channels, you can manipulate the perceived width of the stereo image.
Increasing the level of the Side channel relative to the Mid channel will make the mix sound wider and more spacious. Conversely, reducing the level of the Side channel will make the mix sound narrower and more focused. This level of control can be invaluable when mastering a track, allowing you to tailor the stereo width to suit different listening environments and playback systems.
5. M/S Distortion and Saturation
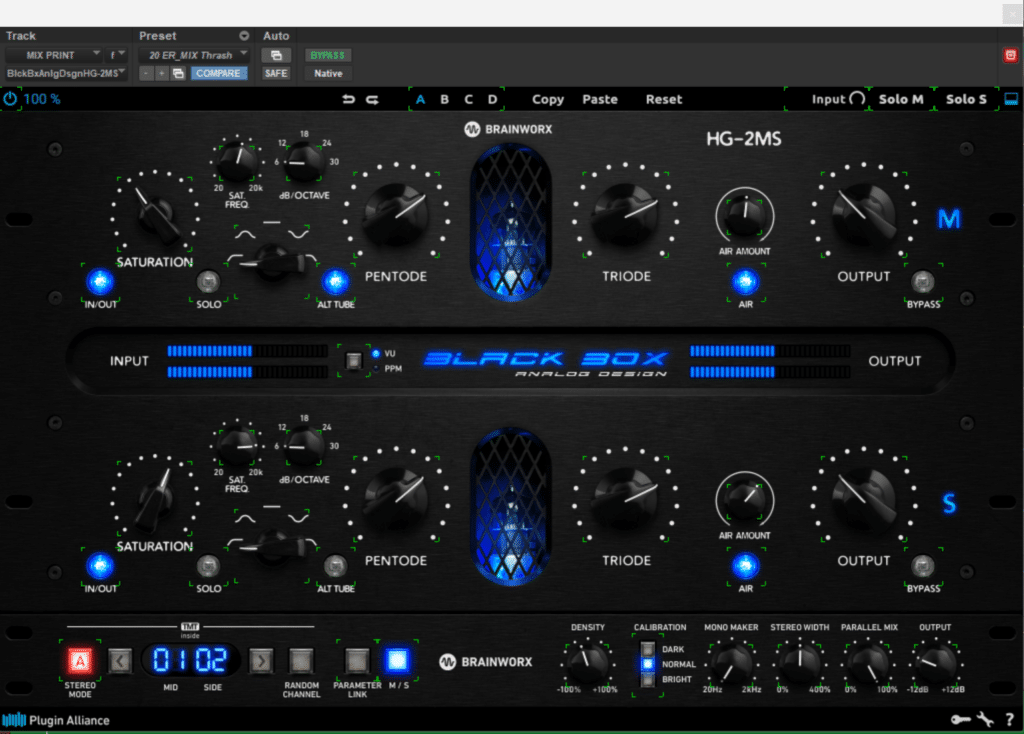
Distortion and saturation are popular creative effects used to add warmth, character, and harmonic complexity to audio signals. When working in M/S mode, you can apply these effects selectively to the Mid or Side channels, offering unique tonal possibilities.
Applying distortion to the Mid channel can help to add weight and presence to a vocal or lead instrument, while leaving the Side channel clean to maintain clarity and separation in the stereo image. On the other hand, applying saturation to the Side channel can add a subtle sense of warmth and cohesion to the mix, without overpowering the key elements in the Mid channel.
The Benefits of Working in Mid-Side
Now that we’ve covered some examples of M/S processing, let’s discuss the benefits of working in this mode. There are several advantages to using M/S encoding in your audio projects:
- Greater Control and Flexibility: M/S encoding provides a level of control and flexibility that is simply not possible when working with traditional L/R stereo signals. By manipulating the Mid and Side channels independently, you can achieve precise control over the balance, width, and depth of your mix.
- Enhanced Stereo Imaging: Working in M/S mode allows you to create more engaging and immersive stereo images, with a greater sense of depth, space, and dimension. By applying different processing techniques to the Mid and Side channels, you can sculpt the stereo field to suit the needs of your mix, ensuring that every element has its place in the soundstage.
- Improved Compatibility with Mono Systems: One often-overlooked advantage of M/S encoding is its compatibility with mono playback systems. Because the Mid channel contains the audio information that is identical in both the left and right channels, a mix processed in M/S mode will generally translate better to mono systems, ensuring that your mix sounds great on a wide range of playback devices.
Creative Uses and Practical Examples of Mid-Side Processing
Using Mid Side processing is a creative approach that can unlock new dimensions in your tracks. Whether you’re looking to enhance space, tighten low-end clarity, or add depth to individual elements, M/S processing provides precision and flexibility. Below are some practical examples to inspire your work.
1. Enhancing Ambience in Vocals
Vocals are often the emotional centerpiece of a track, and creating the right spatial environment for them can elevate the entire mix. Mid-side processing allows you to shape this space by selectively applying effects to either the Mid or Side channel.
How It Works:
- Apply a lush reverb to the Side channel to create a wide, atmospheric feel.
- Keep the Mid channel dry to preserve clarity and focus.
Practical Example:
For a ballad or a cinematic piece, you might want the vocal to feel intimate yet expansive. By adding a dense reverb to the Side channel and leaving the Mid channel untouched, you can give the illusion of a large, immersive space while ensuring the lyrics and emotional delivery remain crystal clear.
Pro Tip:
When using delay on vocals, try panning the delay’s repeats into the Side channel to create a sense of movement without cluttering the center. Alot of new engineers and musicians hinder themselves once they discover reverb, as they overuse it. I get it, it’s a new toy, it’s fun, i was guilty of it when I started as well, BUT the listeners don’t like it. For those of you that find yourself heavy handed with the reverb this tip is for you.
2. Isolating FX Returns for a Cleaner Mix
Effects like reverb and delay add space, but they can easily muddy the mix if they overlap with key elements in the Mid channel. Using mid-side EQ on FX returns can help you clean up overlapping frequencies and maintain clarity.
How It Works:
- Use a high-pass filter on the Mid channel to remove low-end buildup.
- Boost the high frequencies in the Side channel to add air and sparkle to the FX return.
Practical Example:
Imagine a lush plate reverb on a lead vocal that feels too dense. By cutting frequencies below 200 Hz in the Mid channel, the reverb remains expansive and wide without interfering with the vocal’s clarity.
Pro Tip:
When applying effects like phasers or flangers, use M/S processing to focus the effect’s movement in the Side channel, leaving the Mid channel clean and centered.
3. Warming Pads and Textures with Side-Channel Saturation
Pads and ambient textures often serve to glue a mix together, but they can sometimes dominate the stereo field. By adding warmth or subtle distortion to just the Side channel, you can enrich the sound while keeping the Mid channel focused.
How It Works:
- Apply tape saturation or harmonic distortion to the Side channel.
- Leave the Mid channel untouched to avoid overloading the mix.
Practical Example:
For an ambient track, add gentle saturation to the Side channel of a synth pad to make the stereo field feel warmer and more enveloping. This enhances the texture without pulling focus from the core elements like vocals or drums.
Pro Tip:
Pair M/S saturation with a stereo widener on the Side channel for an even more immersive effect.
4. Sculpting Drum Bus Dynamics with M/S Compression
Drums are the foundation of most tracks, and M/S compression allows you to balance punch and space in a dynamic way. Compressing the Mid channel separately from the Side channel can create a tight, impactful core while preserving the room’s natural ambiance.
How It Works:
- Apply fast, punchy compression to the Mid channel to emphasize kick and snare.
- Use slower compression on the Side channel to enhance the sense of space and width.
Practical Example:
On a drum bus, use M/S compression to tighten the kick and snare in the Mid channel, while gently taming the Side channel to keep the overheads and room mics balanced. This creates a drum sound that is punchy and impactful without losing its natural space.
Pro Tip:
Experiment with parallel M/S compression, where you blend a heavily compressed version of the Mid channel with the unprocessed original to retain punch and depth.
5. Adding Harmonics to Basslines Without Losing Focus
While basslines typically live in the mono realm, adding subtle harmonics to the Side channel can give the perception of depth and richness.
How It Works:
- Use harmonic saturation on the Side channel to add warmth and color.
- Keep the Mid channel clean to ensure the bass remains centered and punchy.
Practical Example:
For a bassline in a funk track, apply gentle tube saturation to the Side channel to create a sense of warmth and movement, making the bass more engaging without overpowering the center.
Pro Tip:
Check your mix in mono after applying M/S saturation to ensure the bass still translates well.
Common Mid-Side Processing Pitfalls and How to Avoid Them
Mid-side processing is a powerful tool, but with great power comes great responsibility. Misusing M/S processing can lead to unbalanced, hollow, or even problematic mixes. To help you avoid these pitfalls, here are some common mistakes and actionable tips for keeping your mix in check while maximizing the benefits of mid-side processing.
1. Over-Widening the Stereo Field
One of the biggest temptations with mid-side processing is to increase the Side channel excessively in pursuit of a wide, spacious mix. While widening the stereo field can be effective, pushing it too far can result in:
- Phase issues: Elements in the Side channel might cancel out when the mix is summed to mono, causing parts of the audio to disappear or sound weak.
- A hollow or disconnected mix: Over-widening can make your track lose its focus, leaving the center feeling empty and unsupported.
How to Avoid It:
- Regularly check your mix in mono to ensure that essential elements remain intact.
- Use subtle adjustments to the Side channel and focus on enhancing specific frequency ranges, such as adding air to high frequencies or tightening low-end width.
- Consider using a stereo imager plugin, like iZotope Ozone Imager, with mono-check features to monitor the stereo width carefully.
2. Neglecting the Mid Channel
In the excitement of creating a spacious stereo image, it’s easy to focus too much on the Side channel and overlook the Mid channel. However, the Mid channel anchors the track, carrying the key elements like vocals, bass, and kick drum. Neglecting it can leave your mix:
- Lacking punch and clarity in the center.
- Missing focus, which can confuse listeners.
How to Avoid It:
- Always start with a solid foundation in the Mid channel before enhancing the Side channel.
- When making adjustments to the Side channel, ensure they complement rather than overshadow the Mid channel.
- Use tools like FabFilter Pro-Q3 to fine-tune both channels simultaneously, ensuring balance between focus and width.
3. Excessive EQ Tweaks in the Side Channel
Applying aggressive EQ boosts or cuts in the Side channel can create an unnatural stereo image, leading to imbalances and a disjointed soundstage. For instance, boosting high frequencies too much in the Side channel can make the mix feel overly harsh or artificial.
How to Avoid It:
- Use small, incremental EQ adjustments in the Side channel. Start with ±1–2 dB changes and listen critically.
- Focus on enhancing specific frequency ranges that naturally enhance the stereo image, such as:
- Adding subtle air to high frequencies (8–12 kHz).
- Cutting muddiness in the low mids (200–500 Hz).
- Use linear-phase EQs like FabFilter Pro-Q3 in M/S mode to minimize phase issues and maintain transparency.
4. Ignoring Contextual Balance
Mid-side processing isn’t a one-size-fits-all solution. Applying the same techniques to every track without considering its unique context can lead to an unbalanced mix. For example:
- A track with too much Side channel content can sound thin and weak in a club or on small speakers.
- Overprocessing can make mixes feel unnatural and overproduced, especially in genres that favor raw or organic sound.
How to Avoid It:
- Tailor your M/S processing to the genre and intended playback environment. For instance:
- Use more Mid-focused processing for bass-heavy genres like hip-hop or EDM.
- Enhance the Side channel subtly for acoustic or orchestral music to create space without losing intimacy.
- Always A/B test your mix before and after applying M/S processing to ensure it enhances rather than detracts from the original balance.
5. Forgetting to Monitor and Compare
M/S processing often involves subtle changes that can compound into unintended consequences. Forgetting to monitor or compare your adjustments can lead to mixes that feel off or overworked.
How to Avoid It:
- Continuously toggle between stereo and mono playback to identify phase issues or unintended changes.
- Use reference tracks to compare your stereo width and balance to professionally mixed songs in the same genre.
- Work with plugins that have A/B comparison features, such as Brainworx bx_control V2, to ensure your tweaks are effective.
6. Overusing M/S Compression
While M/S compression is a great tool for balancing dynamics, over-compressing the Mid or Side channel can rob your mix of its natural dynamics and energy. For example, over-compressing the Mid channel can make the mix feel flat, while excessive Side compression can remove the natural spaciousness.
How to Avoid It:
- Use gentle ratios (e.g., 2:1 or 3:1) and slow attack times when compressing the Mid channel to retain natural dynamics.
- Apply minimal compression to the Side channel, focusing on subtle dynamic control rather than heavy-handed changes.
Mid-side processing offers a wealth of creative and technical possibilities, but it’s crucial to approach it with intention and restraint. By being mindful of these common mistakes and implementing these best practices, you can unlock the full potential of M/S processing while maintaining balance, clarity, and impact in your mixes.
Why These Techniques Matter
Mid-side processing opens up a world of creative possibilities for engineers and producers, allowing you to sculpt your mix with precision. These techniques go beyond simple technical fixes, letting you experiment with depth, width, and texture in ways that enhance the emotional impact of your music.
Whether you’re adding ambience to a vocal, refining drum dynamics, or widening your stereo field during mastering, mid-side processing gives you the tools to take your mixes to the next level.
Mid-Side encoding is a powerful and versatile technique that offers audio engineers a wealth of creative possibilities. By understanding how M/S encoding works and how to apply various types of processing in this mode, you can take your audio projects to new heights of quality and sophistication.
While Mid-side processing can elevate a track, it’s not a magic bullet. If your mix is overcrowded or lacks focus, even the best techniques won’t fix it. True transformation happens when your mix is handled with expertise and care. Here’s how we can make that happen.