


The best way to reduce the noise floor on a vocal is to stop most of it from being recorded, then clean up only what is left. Noise reduction software works by subtraction, and every pass risks taking pieces of your voice with it. If your take is already noisy and you want it to sound release-ready, our mixing service handles that cleanup with experienced engineers.
TL;DR
- The noise floor is the background sound under your voice. You hear it most in pauses and quiet phrases.
- Find the source first: room noise, gear noise or outside noise each need a different fix.
- Move the mic closer, treat the space behind you, and set peaks around -12 to -6 dB so you never need to crank gain.
- Use denoising last, learn it from clean room tone, and stop when the background no longer competes with the voice.
Table of Contents
- What the noise floor is, and why vocals expose it
- Step 1: Find out what kind of noise you have
- Step 2: Choose and arrange the room
- Step 3: Place the mic so the voice beats the room
- Step 4: Set gain so you never fight it later
- Step 5: Clean up what is left, gently
- Mistakes that make cleanup sound worse
- Perspective
- When you want it handled for you
- FAQ
- Sources
What the noise floor is, and why vocals expose it
The noise floor is the background noise present alongside the sound you want to record. It is most noticeable between phrases, in breaths and at the end of a held note. A loud chorus hides it. A quiet verse does not.
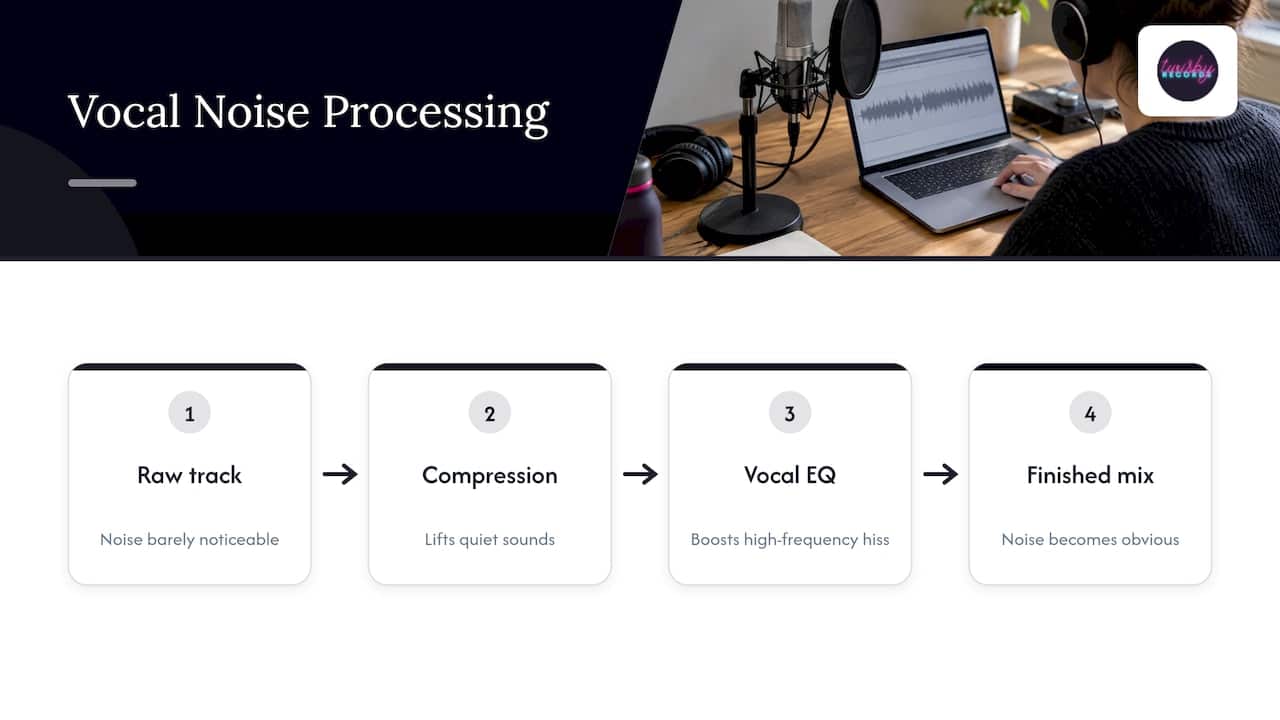
It also grows later in the process. Compression lifts quiet sounds, and vocal EQ often boosts the high frequencies where hiss lives. GIK Acoustics makes this point about voiceover: noise is usually more objectionable after processing than in the raw track. A floor you barely notice while tracking can become obvious in a finished mix.
Step 1: Find out what kind of noise you have
Do not buy anything yet. Record 10 seconds of silence with your mic and gain set as they are for singing. Play it back loudly, with the vocal muted, and listen. Then match what you hear:
| What you hear | Likely cause | First fix |
|---|---|---|
| Steady low buzz | Power or ground loop. In North America hum sits at 60 Hz | Change cables and outlets, keep audio cables off power cords |
| “Sssh” haze | Gain turned up on a quiet mic, or a noisy preamp | Move closer, lower gain |
| Low rumble | Traffic, HVAC, footsteps, a bumped desk | Shut off HVAC, use a stand and shock mount |
| Fan or drive whir | Computer or appliance in the room | Move the computer or aim the mic’s dead side at it |
| Intermittent sounds | Traffic, jets, leaf blowers | Record at quieter times |
The iZotope team shows that the same interface and preamp produced a louder, buzzier floor with one microphone than with another. The floor comes from the mic, preamp and room together, so change one thing at a time and re-record the silence after each change. Swap the cable first. It is the most likely culprit.
For outside sound, the cheapest fix is recording when those sounds are uncommon, such as early morning or late evening.
Step 2: Choose and arrange the room
You are looking for the quietest, least reflective space you have. Shure’s home recording guide advises avoiding fans, air conditioners and furnaces, and avoiding bare windows and concrete. Foam, carpet, blankets or heavy drapes deaden those surfaces. A closet full of clothes works in a pinch.
A few practical rules:
- Test by clapping. RØDE suggests clapping or singing and listening for echoes off flat, hard surfaces. Pick the room with the least.
- Treat behind the singer, not only behind the mic. A cardioid mic faces you, so the wall behind you matters as much as the one behind the mic, according to Garnish Music Production.
- Avoid corners and the dead center of a small room. Low-frequency buildup is worst there, per the same guide.
- Close doors and windows, switch off what you can, and record when the house is empty.
Reverb is the one thing you cannot fully remove later, so a dry room beats a clever plugin. Our guide to recording vocals at home walks through setting up a space that gives a mixer clean stems.
Step 3: Place the mic so the voice beats the room
The signal-to-noise ratio is simple: the louder your voice is compared with the room, the lower the noise floor sounds. Distance is the biggest lever.
- Start 6 to 12 inches from your mouth. Shure recommends this range. Closer and proximity effect makes the voice bassy and muddy. Neumann suggests 8 to 12 inches with a pop shield angled so it is not parallel to the capsule.
- Aim the mic’s quiet side at the noise. A cardioid mic rejects sound from behind it. GIK Acoustics advises pointing that null at the noise source, then getting close so you can lower preamp gain.
- Consider the pickup type. In an untreated room, a dynamic mic naturally rejects more room noise than a condenser. Our vocal mic selection guide explains pickup pattern and connection, the two specs that matter most here.
- Keep cable runs short and keep phones away from the signal path. iZotope notes that cell phone interference and dirty household power can muddy the signal.
One myth to drop: turning the gain up does not make a mic “focus” on what is close. In a side-by-side test, the same room recorded at two gain settings and matched in level afterward sounded virtually identical, with the same noise floor, reverb and hum. Distance helps. Gain does not.
Step 4: Set gain so you never fight it later
Gain is where many home recordings go wrong, in both directions. Too hot and you clip, which cannot be repaired cleanly. Too low and you raise the noise when you turn the track up later.
- Aim for peaks around -10 to -6 dBFS with an average near -18 dBFS, as Garnish Music Production recommends. In digital audio, dBFS counts down from the loudest level the system can hold.
- At 24 bits, Neumann suggests about 10 dB of headroom above the loudest peaks.
- Check again after the first take. Singers tend to sing louder than they did at sound check.
- If the singer wants more in the headphones, raise the headphone level, not the preamp gain.
Do not record with heavy compression to “get it right.” Compression raises the quiet parts, noise included, and it cannot be undone.
Step 5: Clean up what is left, gently
Physical fixes beat plugins. As one audio trainer puts it, noise reduction is subtraction, and software has to guess what is voice and what is noise.
When you do need it, work in this order:
- Edit first. Cut dead air between phrases and fade breaths rather than processing them.
- Use subtractive EQ for boom and boxiness. Universal Audio suggests cutting around 200 to 300 Hz for boom and 500 Hz for boxiness. Do this before reaching for denoising.
- Use a multiband denoiser or gate carefully. iZotope’s Voice De-noise works like a multiband gate: sound above the threshold passes untouched and sound below it is attenuated. Its Optimize for Music mode does not attenuate sustained notes, which suits sung vocals better than the faster Dialogue mode.
- Learn the noise from clean room tone. The same documentation recommends at least one second of pure noise for the Learn function. No breaths, no consonants.
- Pick the gentler setting. The Surgical filter mode removes more noise but can cause chirpy or watery artifacts. Gentle mode is more transparent, though it removes less high-end sizzle.
iZotope’s vocal cleanup guide adds that Spectral De-noise should be used sparingly, and that reverb reduction on sung vocals should be applied gently because heavy use creates artifacts.
Mistakes that make cleanup sound worse
CleanAudio’s guide lists the usual ones, and they match what we hear in files sent to us:
- Capturing a breath or consonant in the noise profile.
- Treating hiss, hum and whine as one problem. Each needs its own fix.
- Stacking passes instead of going back to the original and starting again.
- Judging the result only in the silent gaps.
- Gating first, before editing and EQ.
- Chasing total silence until the voice sounds brittle.
Denoisers struggle because voice and noise overlap. A fan and a breath share a hiss-like texture, and an F or SH can look more like noise than a vowel does. Clairyn explains that aggressive attenuation removes pieces of consonants and quiet notes, and that fast-changing attenuation makes the voice fluctuate. The same guide says to stop when the background no longer competes with the voice, and to avoid listening far above normal volume, which makes you chase noise nobody would hear.
A useful check: listen at normal level, on headphones and on speakers, with the full instrumental playing. If you cannot hear the noise there, it is done.
Perspective
Most of the files that reach us are not ruined by noise. They are ruined by the attempt to remove all of it. A singer sends a take with a faint fan in the background, runs a heavy denoiser, and now the consonants are gone and the quiet notes sound like they are underwater.
Our approach is built around personalized work by experienced engineers using real analog gear, with creative collaboration and fast turnaround. We would rather start from a take with a little honest room tone and shape it than rescue one that has been over-processed. That is why we tell artists to fix the room, the distance and the gain first, and to send us the raw take.
If you want a second set of ears before you record, our session prep checklist covers the studio and vocal checks worth doing, and our piece on why vocals still sound amateur covers what comes after.
Kreg
When you want it handled for you
If your vocal is recorded and the noise is still there, send it to us rather than stacking more plugins on it. Our mixing is done by experienced engineers, with remote vocal production available for independent artists. Mastering is $50 per track, and a mix quote is available through our mix quote page. Our work carries Apple Digital Masters certification.

If you are recording in Pittsburgh, we also take on occasional in-person recording partnerships. Not sure where your vocal stands? Our over-the-shoulder critique is a place to start.
When you are recording backup audio for something you cannot redo, the same logic applies. A spare recorder placed close to the speaker is a good example, and this wedding audio piece shows how a close, simple backup setup protects a once-only recording.
FAQ
What is a good noise floor for vocals?
There is no single number, because the floor is a ratio between background sound and your signal. One voiceover practitioner’s method sets vocal peaks around -12 dB, records about 10 seconds of silence, and measures the room tone against the peaks. Instead of chasing a number, ask whether you can hear the noise under the finished mix at normal volume.
Will turning down the gain reduce noise?
Only when you also move closer to the mic. Lower gain with the same distance just makes everything quieter, voice and room alike. Closer placement makes the voice louder than the room, which lets you lower gain without losing level.
Should I use a noise gate on vocals?
Use editing first, then a gentle expander or multiband tool if needed. A hard gate set too high cuts off quiet words and breath endings. Set the threshold low enough that soft phrases pass through cleanly.
Can a denoiser fix a very noisy vocal?
It can reduce steady noise like hiss or buzz, since iZotope’s Denoise module is designed for stationary noise such as tape hiss and mains buzz. Changing noise, such as traffic, is harder and a re-record is often the cleaner route.
Sources
- Noise Floor In Recordings: Causes And Checks
- What Is the Noise Floor? How to Reduce It In Your Recordings
- Noise: Avoid It, Then Reduce It Carefully
- Voice Recording Diagnosis
- Shure: Introduction to Home Recording
- RØDE: How to Record Better Vocals at Home
- Garnish Music Production: Microphone Setup, Room and Technique
- GIK Acoustics: Voiceover Strategies
- Neumann: Recording Vocals in Your Home Studio, Part 1
- Universal Audio: How to Record Vocals with UAD Plug-Ins and Apollo Interfaces
- FIFINE: 7 Effective Tips for Noise Reduction in Home Recordings
- Universal Audio: How to Use Plug-Ins on Vocals
- iZotope RX 11: Voice De-noise
- iZotope: How to clean up recorded vocals
- CleanAudio: How to Remove Hiss from Audio Without Hurting Voice Quality
- Clairyn: Why Noise Reduction Makes Audio Sound Watery or Robotic
- JustAskJimVO: Voiceover Answerbase
- iZotope RX 2 Help Documentation
- Wedding Audio Recording