


A solid default vocal chain order is this: clean up and gain stage first, then pitch correction, subtractive EQ, de-essing, compression, tonal EQ, saturation, and finally reverb and delay on sends. While recording, the order is simpler: mic, preamp, light compression, optional EQ, converter. Below we explain each position, why it matters, and when to break the rule.
TL;DR
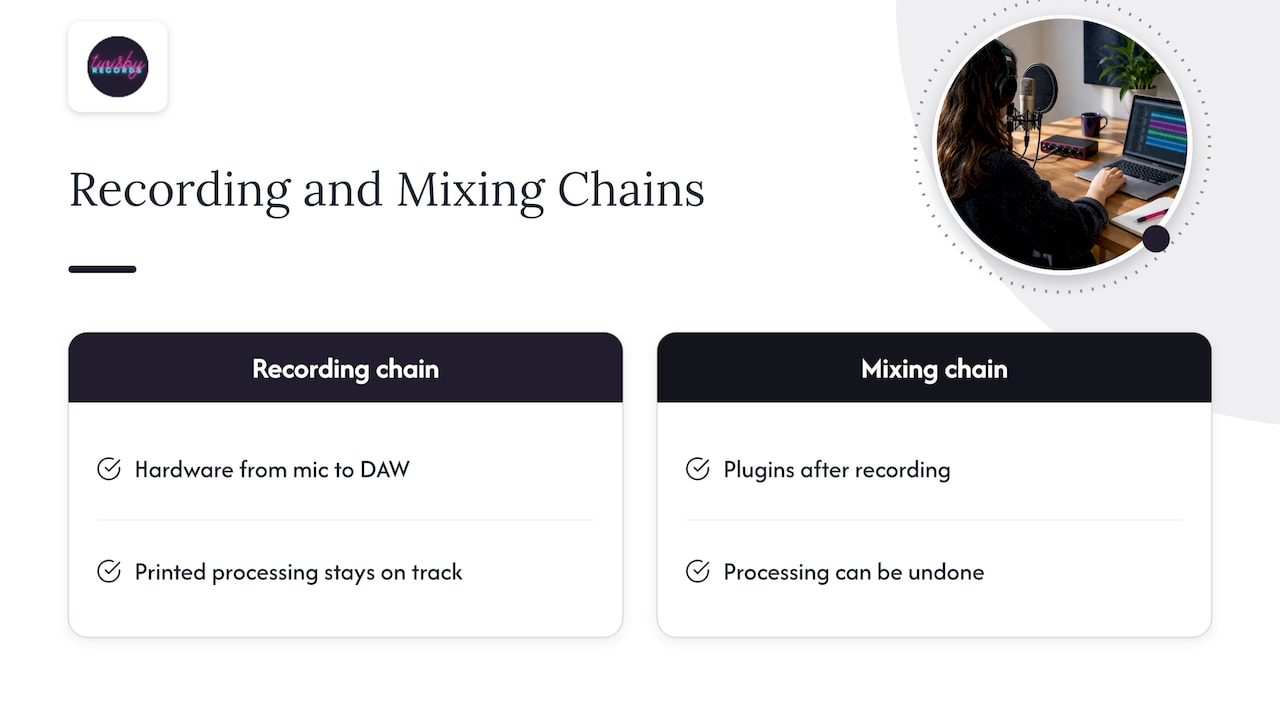
- There are two chains: the recording chain (hardware, printed to the track) and the mixing chain (plugins, fully reversible). Order matters in both, for different reasons.
- Default mixing order: cleanup, pitch correction, subtractive EQ, de-esser, compressor, tonal EQ, saturation, then reverb and delay on sends.
- Fix problems before the compressor, because compression magnifies whatever already dominates the vocal.
- Record with headroom. Peaks around -18 to -12 dB leave you room to process later.
- Treat any order as a starting point. If a different sequence sounds better on your voice, use it.
Table of Contents
- Two chains that share one name
- The recording chain order
- Gain staging and cleanup come first
- The mixing chain order, stage by stage
- The order at a glance
- Where reverb and delay go
- When to break the order
- Our perspective
- Get the vocal sitting right, without the guesswork
- A starting template you can copy
- FAQ
- Sources
Two chains that share one name
When people say vocal chain, they mean one of two things, and mixing them up causes most of the confusion in forum threads.
The first is the recording chain: the hardware the signal passes through on its way from the microphone to your DAW or tape. B&H explains that the term can also describe the software plugins used in mixing, and that plugin compression, unlike hardware compression at the input, is not baked into the recorded track.
The second is the mixing chain: the plugins on the vocal channel after the take is recorded. Splice describes a vocal chain as a series of processing modules that turns raw microphone audio into a more finished vocal, typically with a preamp, EQ, compression, and effects.
The practical difference is commitment. Anything you print while tracking stays there. Anything you add in the mix can be undone tomorrow. That is why the two chains deserve different levels of caution, and why we cover them separately.
The recording chain order
The path your voice takes is a literal signal flow. Mastering.com’s signal flow guide lays it out: voice to microphone, audio interface, DAW, back out through the interface, and finally to your headphones or speakers.
Inside that path, the order for a hardware or interface-based chain is:
- Microphone. The source of everything. Choice and placement matter more than any processor after it.
- Preamp. A microphone produces a very low-level signal, so it has to be raised to line level. Yamaha’s vocal chain primer notes that the still-analog signal then goes through the interface’s analog-to-digital converter before it reaches the DAW.
- Compressor (optional, light). The classic hardware chain, as Tegeler describes it, runs preamp, compressor, EQ, with de-essing, saturation, extra compression, and reverb as optional later stages.
- EQ (optional, gentle). Only if you need to tame something you cannot fix at the source.
- Converter and DAW. Where the signal becomes digital.
If you are recording at home with a single interface, your chain may just be mic, preamp, converter. That is a perfectly good chain. A clean, well-leveled recording beats a heavily processed one every time. Our walkthrough on recording vocals at home covers the room and mic technique that make this possible, and 15 steps to record vocals like a pro goes deeper on the session itself.
Keep tracking processing conservative
Because a tracking chain is a commitment, Tegeler recommends conservative gain reduction while recording, since recorded processing cannot be removed later. Guitar Center frames light compression and EQ at the input as signal conditioning: it can reduce level variation and protect the converters from overload, while extreme or creative effects wait until a clean basic track is safely recorded.
A good rule: at the tracking stage, protect the signal. Do not decorate it.
Give the singer a good headphone mix
One order-of-operations detail people forget: monitoring. Sound On Sound’s vocal recording masterclass recommends a balanced headphone mix and usually some reverb for the singer’s confidence and pitch, while making sure that reverb is for monitoring only and is not recorded. A comfortable singer delivers a better take, and no plugin chain fixes a nervous performance.

Gain staging and cleanup come first
Before any plugin, get the level right. Every processor downstream reacts to how hard you hit it, so this is stage zero, not an afterthought.
Universal Audio recommends recording vocal peaks around -18 to -12 dB, with peaks as high as -6 dB acceptable, to preserve headroom. That surprises many beginners who push the meter near zero. Digital recording does not need to be loud. It needs to be clean.
Then clean the track itself. Universal Audio’s recording guide suggests comping the best takes and removing excess breaths and mouth noise, and repairing awkward transitions, before you start mixing. Do this by hand with edits and fades. It is faster and more transparent than asking a plugin to guess.
In practice, your prep list looks like this:
- Comp the best phrases into one lead take.
- Trim silence between phrases and add short fades to avoid clicks.
- Reduce loud breaths and lip noise manually.
- Set the clip gain so loud and soft words are in the same neighborhood.
- Check that the channel peaks leave headroom before the first plugin.
If you want a checklist for the session itself, our session prep checklist covers the studio and vocal checks that save you from fixing things later.
The mixing chain order, stage by stage
Here is the order we start from on most vocals. It matches the overall pattern you will see in the pages written about this topic: Sonarworks suggests noise reduction or gating, pitch correction, EQ, de-essing, compression, saturation, modulation, then delay and reverb as a common starting point, and the small differences between sources are exactly where engineers’ tastes diverge.
1. Pitch correction on the dry vocal
iZotope’s suggested chain begins with pitch correction on the dry vocal. The reason is simple: tuning software tracks pitch best when the signal is clean and uncolored. Heavy compression or reverb before the tuner gives it a messier signal to read. If you are preparing a vocal for natural-sounding tuning, see how producers prepare vocals for tuning.
Some engineers put cleanup EQ first and tuning second. Both work. Just keep tuning ahead of the compressor.
2. Subtractive EQ
This is the corrective pass: a high-pass filter to remove rumble and narrow cuts for boxiness or resonance. Sonarworks recommends high-pass filtering and narrow corrective cuts before compression. Mastering.com adds that EQ before compression can keep extra low-end noise from making the compressor open too soon.
The thinking behind it comes from Sound On Sound’s John Walden: compression magnifies whatever already dominates a vocal, so corrective work should generally come before broad dynamics control. If there is a boomy 250 Hz buildup, you want it gone before the compressor turns it up.
3. De-essing
The de-esser comes before the compressor in many chains, including Inotrak’s default order, which runs gain staging, corrective EQ, de-esser, compressor, tonal EQ, saturation, then reverb or delay on sends. A compressor that squashes a vocal will lift sibilance relative to everything else. Tame the harsh S sounds first and the compressor never gets the chance to exaggerate them.
Sonarworks, by contrast, places the de-esser before the second EQ, after compression. Both are defensible. If your vocal is only mildly sibilant, either spot works. If it is very sibilant, go earlier.
4. Compression
Now dynamics. Universal Audio describes an 1176-style compressor as useful for fast peak control, with an LA-2A-style compressor following it to add body and tube warmth, and suggests 3 to 6 dB of gain reduction as a typical audible starting range.
A few habits that keep this stage honest:
- Aim for gentle gain reduction on each compressor rather than one heavy one.
- Use a fast compressor for peaks, a slower one for overall level.
- Bypass often. If the vocal just sounds louder, not better, ease off.
If you are choosing between a compressor and automation, read our comparison of a vocal rider versus compression.
5. Tonal EQ
After compression, shape instead of fix. Sonarworks’ guidance reflects the distinction between subtractive correction before compression and additive enhancement after it: broad, gentle presence or air boosts go after the compressor. A small lift in the upper mids or a shelf for air is plenty.
6. Saturation
Saturation adds harmonics that help a vocal cut through a dense mix. Put it after compression and tonal EQ so you are coloring a controlled signal. Go light. You should feel it more than hear it.
7. Reverb and delay on sends
These go last, and usually not on the vocal channel at all. See the next section.
The order at a glance
| Stage | Job | Why it sits here |
|---|---|---|
| Gain staging and cleanup | Healthy level, remove breaths and noise | Every plugin reacts to input level |
| Pitch correction | Fix tuning on the dry vocal | Tuners read clean signals best |
| Subtractive EQ | High-pass, cut resonances | Stops the compressor boosting problems |
| De-esser | Control harsh S sounds | Prevents compression from raising sibilance |
| Compressor | Even out dynamics | Works on a corrected signal |
| Tonal EQ | Add presence and air | Enhances after dynamics are controlled |
| Saturation | Add harmonic density | Colors a controlled, shaped signal |
| Reverb and delay | Create space | Blended separately on sends |
Where reverb and delay go
Put them on auxiliary buses. Universal Audio notes that reverb and delay are commonly placed on dedicated stereo auxiliary buses rather than directly on the vocal insert, so you can blend the dry vocal and the effect level independently. Inotrak adds that sends let the effects be processed separately and shared across several vocal sources, which also makes a lead and its doubles feel like they live in the same room.
A practical setup:
- Create one short plate or room reverb send and one tempo-synced delay send.
- Send a little of the lead to each. Raise the send until you notice it, then back off slightly.
- Apply EQ on the return, not just the vocal, so the effect does not get muddy or harsh.
- Send backing vocals and doubles to the same returns to glue them together. If you are building stacks, our guide on layering vocals shows what to record.
When to break the order
Every order here is a starting point. MusicRadar’s mixing-chain examples make this point: chains have an intended signal flow, but engineers should swap stages when circumstances dictate, such as placing EQ after a compressor. Sound On Sound likewise says sequences vary by engineer and style.
Some situations where we reverse or move things:
- A very bright vocal. An EQ after the compressor can soften what the compressor pulled forward.
- A dark, dull take. A gentle tonal boost before compression can make the compressor react to the brighter signal, producing a more forward result.
- Heavy tuning for a stylistic effect. Tuning after other processing can change the character. Test it by ear.
- A noisy room. Cleanup comes first and may need to be more aggressive, or you may need a re-record.
- Aggressive genres. Stacked compressors and saturation often go earlier for an intentionally dense sound.
The test is always the same. Flip the order, listen at matched volume, and keep the one that serves the song. Processors are not interchangeable: as the Mastering.com guide puts it in essence, each one changes the signal presented to the next.
Our perspective
We have mixed vocals for independent artists for a long time, and the same pattern shows up in almost every session: the chain is rarely the problem. The take is.
A good vocal chain order is a safety net, not a magic trick. Fix problems first, control dynamics second, shape the tone third, add space last. That sequence works because each step hands a cleaner signal to the next. When an artist sends us a vocal that was recorded with healthy levels and a calm performance, almost any sensible order sounds good.
This is also why we do not believe in off-the-shelf presets or AI one-click chains for the lead vocal. Every voice, room and song needs different decisions: how hard to compress, where to cut, how much air to add. We work with real analog gear and personalize each mix, because a vocal is the most exposed thing in your song and listeners hear every choice.
If you want to learn the craft, use the order above and trust your ears. If you want a finished, release-ready vocal without spending weeks on it, that is what we are here for.
Kreg
Get the vocal sitting right, without the guesswork
If you would rather hand off the chain and keep your energy on the music, we mix and master for independent and DIY artists, with personalized work and quick turnaround. Mastering is $50 one-off per track, and we are Apple Digital Masters certified. For a full vocal mix, request a mix quote and tell us about your song.

Once the mix is done, the mastering stage has its own order too. Our mastering chain order guide walks through it, and how to mix vocals covers the wider techniques around the chain.
A starting template you can copy
Here is a plain setup to load on a fresh vocal track. Adjust everything by ear.
- Clip gain and edits. Comp, trim, fade, even out the loudest words.
- Pitch correction. Natural settings, only where the tuning is clearly off.
- High-pass and corrective EQ. Filter rumble, make a few narrow cuts.
- De-esser. Reduce only the harsh moments.
- Compressor one. Fast, catching peaks, a few dB of reduction.
- Compressor two. Slower, adding body, light reduction.
- Tonal EQ. A broad lift for presence or air if it needs it.
- Saturation. Subtle harmonic color.
- Sends. Short reverb and a synced delay on auxiliary buses.
Plugin choice matters less than most people think. If you are building a toolkit, our list of mixing plugins worth having and honest gear recommendations for home recording will help you spend wisely.
FAQ
Does vocal chain order really matter?
Yes, because each processor changes the signal the next one receives. A compressor before a de-esser behaves differently from the reverse, and EQ before compression changes what the compressor reacts to. That said, the differences are often subtle, and the right order is the one that sounds best for the voice in front of you.
Should EQ go before or after compression?
Both, for different jobs. Use subtractive EQ before the compressor to remove rumble and resonances so they do not get amplified. Use gentle tonal EQ after the compressor to add presence or air. If one EQ is all you have, start with the corrective cuts before compression.
Where does autotune or pitch correction go?
Usually first, on the dry vocal, before heavy EQ and compression, because tuning tools track pitch best on a clean signal. Some engineers do light cleanup first and tune second. Keep it ahead of the compressor.
Should I record with effects on?
Keep tracking effects light. Gentle compression and EQ can condition the signal, but anything printed to the track cannot be removed. Reverb is best used only in the singer’s headphones and not recorded, so you can decide on space during the mix.
What level should I record vocals at?
Aim for peaks around -18 to -12 dB, with peaks up to -6 dB acceptable, as Universal Audio suggests. That leaves headroom for processing and avoids clipping, without sacrificing quality in a modern digital recording.
Sources
- Vocal Chains: How the Hits Are Made, B&H eXplora
- Audio Signal Flow: What It Is and How to Use It, Mastering.com
- How to create a vocal chain from start to finish, Splice
- Getting Great Vocal Tracks, Part 1: The Vocal Chain, Yamaha
- 500 Series Vocal Chain: Order, Settings, Modules, Tegeler
- How to Build Out a Hardware Vocal Chain, Guitar Center
- Vocal Recording and Production Masterclass, Sound On Sound
- How to Use Plug-Ins on Vocals, Universal Audio
- How to Record Vocals in LUNA Free, Universal Audio
- How to chain multiple vocal effects plugins effectively, Sonarworks
- Quick Tips: Vocal EQ, Sonarworks
- Vocal Processing, Sound On Sound
- Crafting a basic vocal chain, iZotope
- Vocal chain order: what goes where, and why, Inotrak
- 5 tried-and-tested mixing chains, MusicRadar